


Please reach out to us if you have any questions or if you would like to just connect.

April 8, 2025
Please reach out to us if you have any questions or if you would like to just connect.

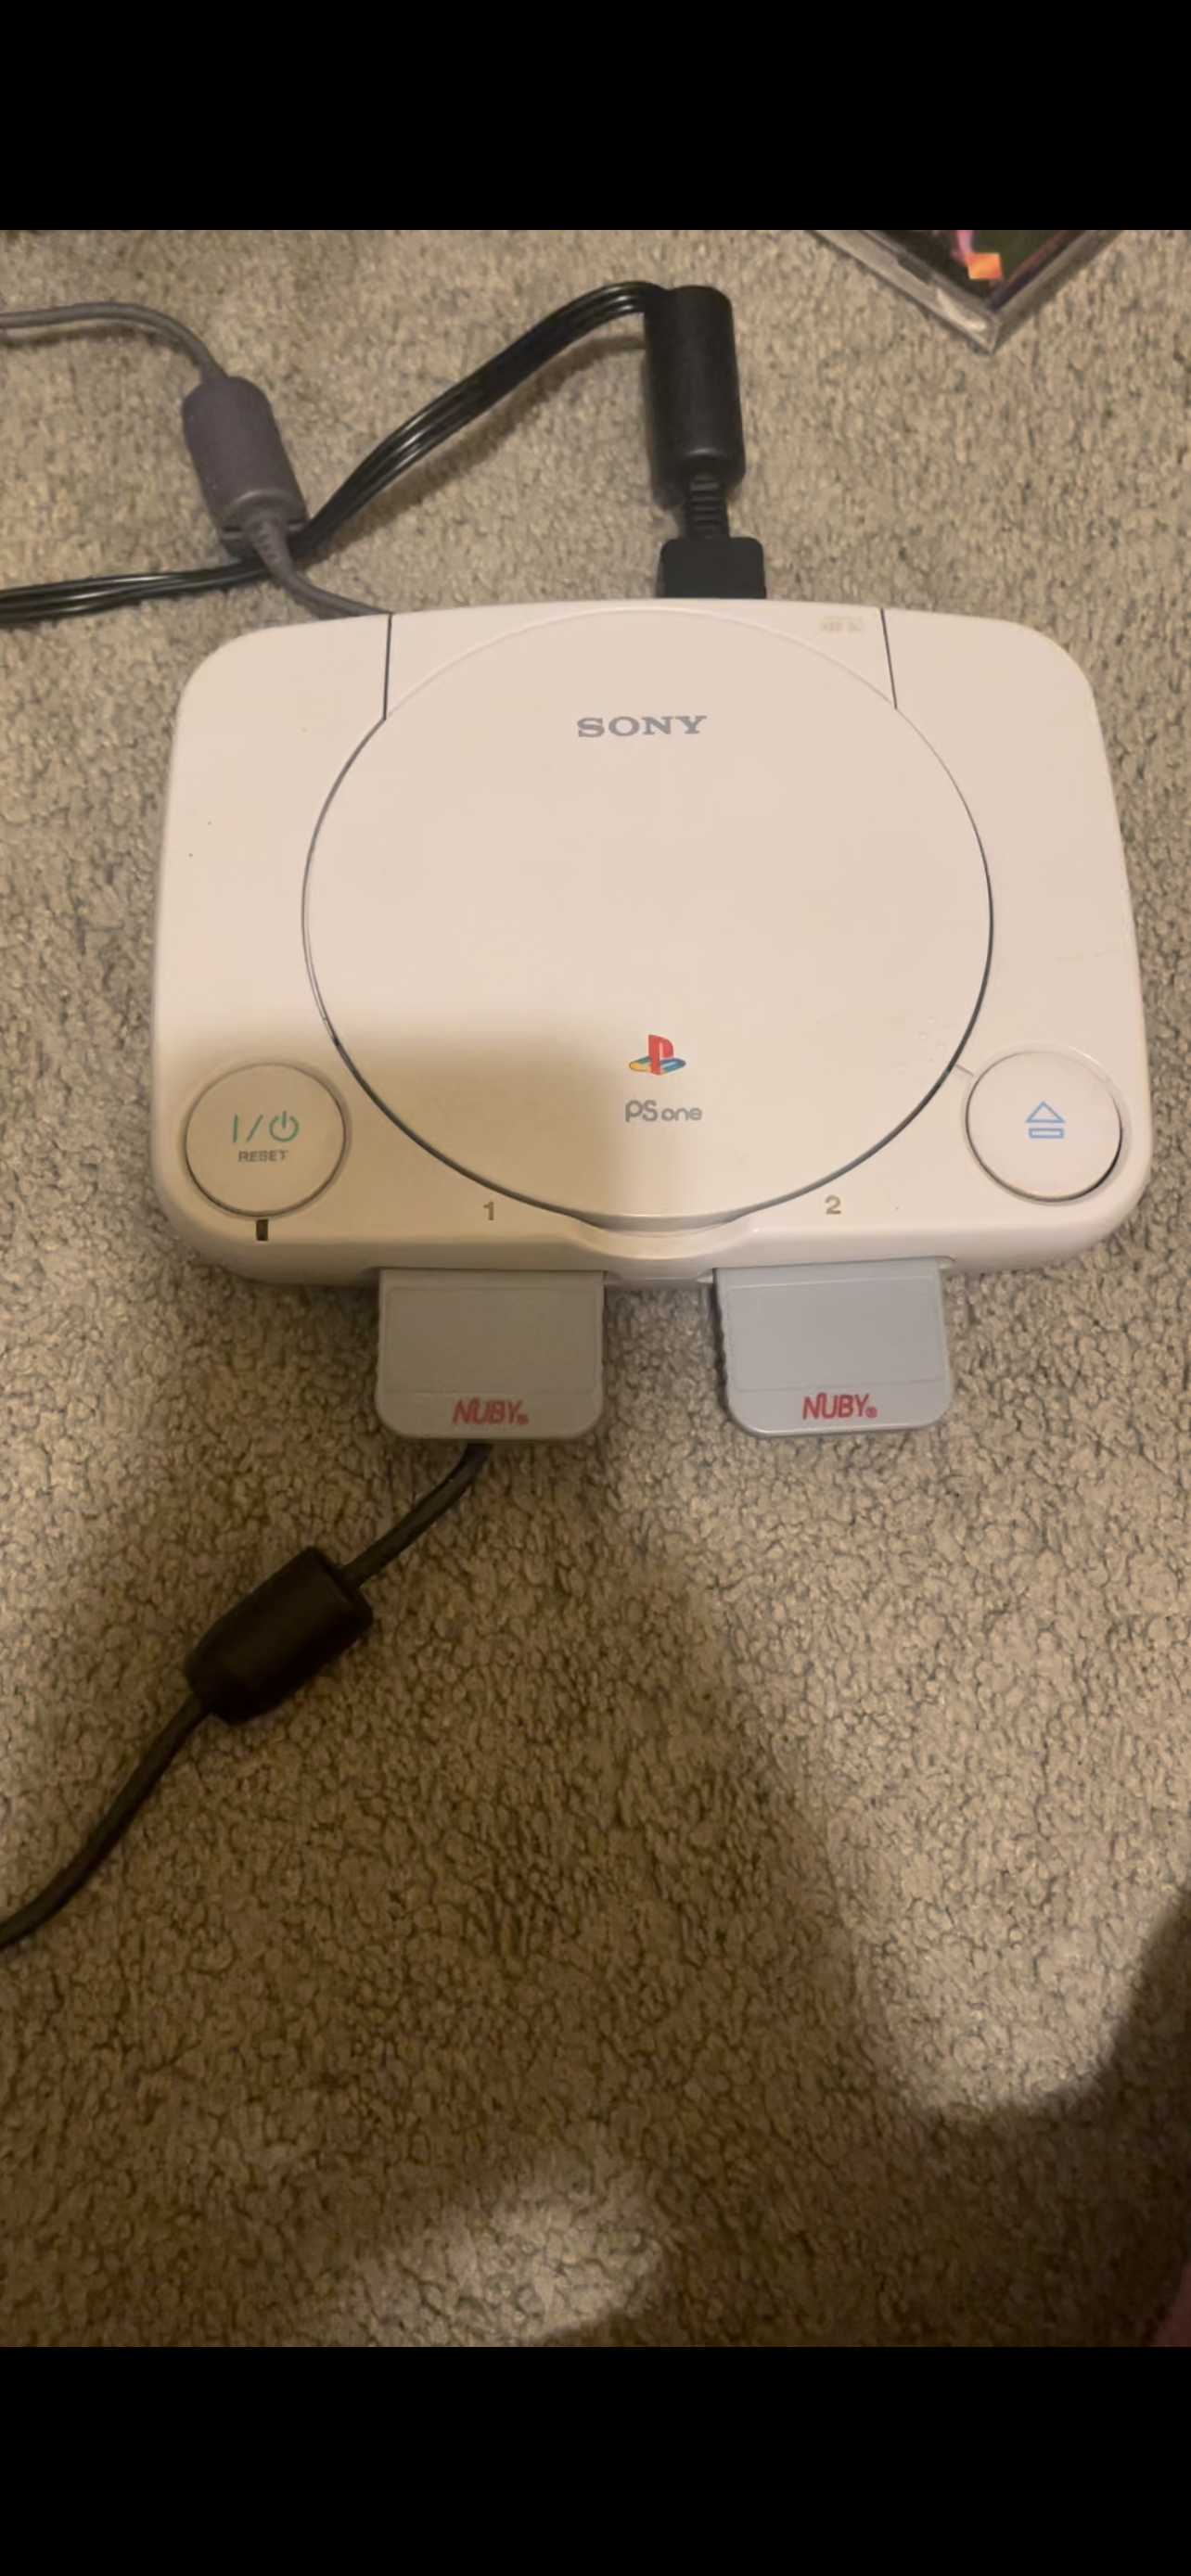
This is the story and steps I took to fix my PS1. I was about 7 when my mom bought my brother and I a brand new PlayStation 1 Slim. We were soooo happy! My brother and I never had a gaming system before. My mom got us a few games and controllers, so we could play together. We played on that system for years. Eventually, my brother upgraded to a Xbox and Wii when they first came out, then a Xbox 360. Of course, I played on them too. But, I always took care of my PS1. I pride myself on how great condition it is in.
This post does contain affiliate links. I do make a percentage from what you purchase off Amazon, for no extra charge to you.
Up until a few months ago, my PlayStation was working just fine. Then it started to not work correctly. It wouldn’t get past the ‘Sony’ page, and would automatically go to the ‘Memory Card/CD’ screen. I tried over and over again. Finally, I went online and did some research. I found that there are others who went through the same issues that I did. Some people recommended flipping the PlayStation upside down, which didn’t work very well. Others talked about replacing the Laser Lens. I decided to look on Amazon (and made sure it was the right model: KSM-440BAM) and found THIS one for $26. A little more than I wanted to spend, but I love this piece of technology and want to eventually pass it down to my son. So, the price was justified.
Once I received the Laser Lens in the mail, I went to Youtube to find out how to exactly replace it. Here is the video I watched. I found one and watched it once, so I can get the basic idea of where to start and what I needed to unplug. After disconnecting the PlayStation from all power sources, controllers and memory sticks, I flipped it upside down.

The only tools I needed was a Philips screw driver and a place to put my screws once I unscrewed them. I located all six screws, one was hidden behind a sticker. It was a little tough getting the screws out. They obviously haven’t been touched in almost 30 years, so they were a little stuck. After fighting with the screws and getting them all out, the top of the PlayStation came right off. Now the inside and all the components were exposed.

I found the pieces that needed to be unplugged from the old Laser Lens and disconnected them. There are two of them. Then I removed the piece of tape that was holding one of the wires in place. After that, the Laser Lens was easy to remove. I still needed that one cord for the new Laser Lens, so I took that off the old one and connected it to the new one.
Now was time to put in the new Laser Lens. I matched up the gaskets, set it in place, and plugged in all of the cords Next I placed the top of the PlayStation back onto the bottom and flipped it upside down. I screwed in all of the screws and flipped it right side up. Now it was the moment of truth…
I connected all of the cords and controllers back into the PlayStation and put in one of my favorite games, Spyro 2: Ripto’s Rage. =)
I patiently waited for the screen to come on. Right away I could tell the PlayStation was better, it wasn’t a fuzzy screen anymore. That didn’t stop me from saying my silent prayer to ask for it to work all the way. Hahaha. Sure enough, BOOM, it worked! I was so excited, I had to go and tell my boyfriend that it was fixed. I played my game for a little bit, before having to get back to Mommy Duties. But, that is my guide to how I fixed my PS1 Slim.

Check out our other Blog posts here. =)
fix
,Laser Lens
,PlayStation
,PlayStation 1
,PlayStation One
,PS1
,Replacement